Add AppsFlyer device mode support to your applications via this plugin for Analytics-Swift
Please direct Segment issues, bug reports, and feature enhancements to [email protected] so they can be resolved as efficiently as possible.
Please direct Appsflyer issues, bug reports, and feature enhancements to [email protected] so they can be resolved as efficiently as possible.
Note: the AppsFlyer library itself will be installed as an additional dependency.
In the Xcode File menu, click Add Packages. You'll see a dialog where you can search for Swift packages. In the search field, enter the URL to this repo.
https://github.com/segment-integrations/analytics-swift-appsflyer
You'll then have the option to pin to a version, or specific branch, as well as which project in your workspace to add it to. Once you've made your selections, click the Add Package button.
Open your Package.swift file and add the following do your the dependencies section:
.package(
            name: "Segment",
            url: "https://github.com/segment-integrations/analytics-swift-appsflyer.git",
            from: "1.1.3"
        ),
Note the AppsFlyer library itself will be installed as an additional dependency.
Open the file where you setup and configure the Analytics-Swift library. Add this plugin to the list of imports.
import Segment
import SegmentAppsFlyer // <-- Add this line
Just under your Analytics-Swift library setup, call analytics.add(plugin: ...) to add an instance of the plugin to the Analytics timeline.
let analytics = Analytics(configuration: Configuration(writeKey: "<YOUR WRITE KEY>")
                    .flushAt(3)
                    .trackApplicationLifecycleEvents(true))
analytics.add(plugin: AppsFlyerDestination())
Your events will now begin to flow to AppsFlyer in device mode.
Please go here to see the Appsflyer Native iOS documentation here
We support a manual mode to seperate the initialization of the AppsFlyer SDK and the start of the SDK. In this case, the AppsFlyer SDK won't start automatically, giving the developer more freedom when to start the AppsFlyer SDK. Please note that in manual mode, the developper is required to implement the API startAppsflyerSDK() in order to start the SDK.
If you are using CMP to collect consent data this feature is needed. See explanation here.
struct NewAnalyticsAppsflyerIntegrationApp: App {
    static var analytics: Analytics? = nil
    static var appsflyerDest: AppsFlyerDestination!
    init() {
        self.requestTrackingAuthorization()
        NewAnalyticsAppsflyerIntegrationApp.analytics = Analytics(configuration: Configuration(writeKey: "<WRITE_KEY>")
                            .flushAt(3)
                            .trackApplicationLifecycleEvents(true)
                            )
        AppsFlyerLib.shared().isDebug = true
//        AppsFlyerLib.shared().waitForATTUserAuthorization(timeoutInterval: 60)
        NewAnalyticsAppsflyerIntegrationApp.appsflyerDest = AppsFlyerDestination(segDelegate: sfdelegate, segDLDelegate: sfdelegate, manualMode: true)
        NewAnalyticsAppsflyerIntegrationApp.analytics?.add(plugin: NewAnalyticsAppsflyerIntegrationApp.appsflyerDest)
    }
...
To start the AppsFlyer SDK, use the startAppsflyerSDK() API, like the following :
// check cmp response or check manually for the User's response.
// if decided to start the Appsflyer SDK manually do it like here: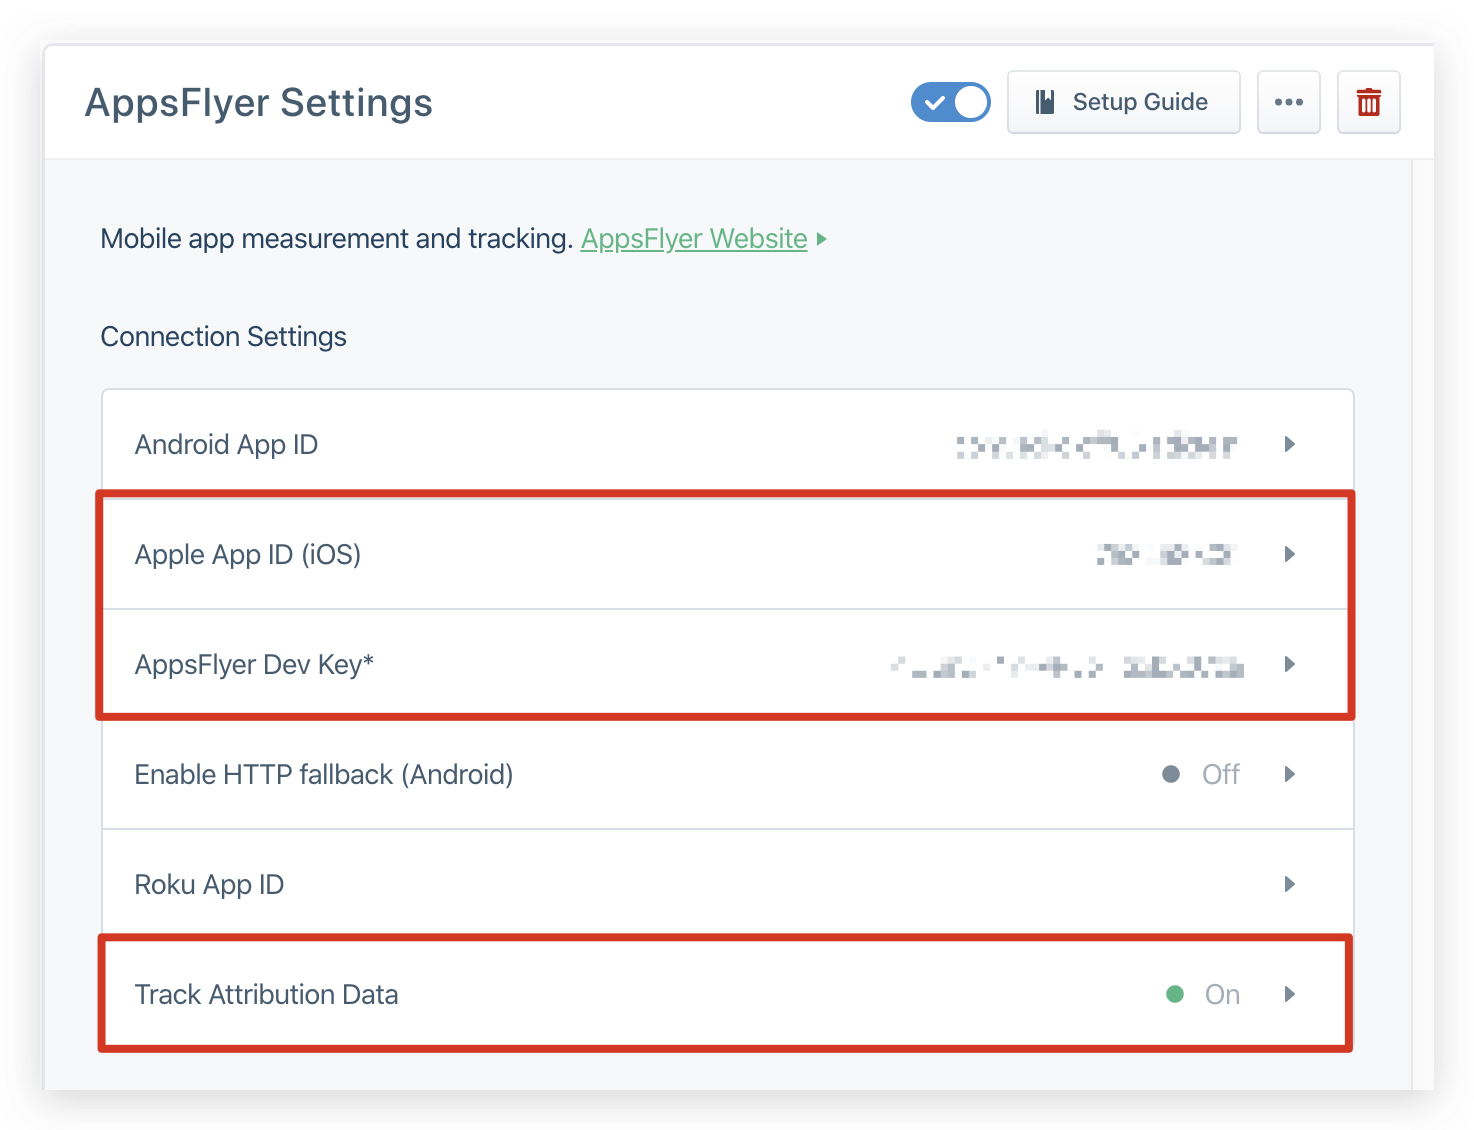
NewAnalyticsAppsflyerIntegrationApp.appsflyerDest.startAppsflyerSDK()In order for Conversion Data to be sent to Segment, make sure you have enabled "Track Attribution Data" and specified App ID in AppsFlyer destination settings:
In order to get Conversion Data you need to:
- Create a class applies the AppsFlyerLibDelegate delgeate
- Pass the initialized class to the AppsflyerDestination
- Implement methods of the protocol in the class, passed as a delegate. See sample code below where AppDelegate is used for that:
struct NewAnalyticsAppsflyerIntegrationApp: App {
  static var afDelegate: AFDelgate! // Add strong reference to delegate

  init() {
...
      NewAnalyticsAppsflyerIntegrationApp.afDelegate = AFDelgate()

      NewAnalyticsAppsflyerIntegrationApp.analytics = Analytics(configuration: Configuration(writeKey: "<WRITE_KEY>")
                          .flushAt(3)
                          .trackApplicationLifecycleEvents(true)
                          )

      AppsFlyerLib.shared().isDebug = true

      // Use the stored delegate
      NewAnalyticsAppsflyerIntegrationApp.appsflyerDest = AppsFlyerDestination(
          segDelegate: NewAnalyticsAppsflyerIntegrationApp.afDelegate,
          segDLDelegate: nil
      )
      NewAnalyticsAppsflyerIntegrationApp.analytics?.add(plugin: NewAnalyticsAppsflyerIntegrationApp.appsflyerDest)
  }
...
...
class AFDelgate: NSObject, AppsFlyerLibDelegate{
  func onConversionDataSuccess(_ conversionInfo: [AnyHashable : Any]) {
      print("moris testing onConversionDataSuccess")
  }

  func onConversionDataFail(_ error: any Error) {
      print("moris testing onConversionDataFail")
  }
}
In order to use Unified Deep linking you need to:
- Create a class applies the DeepLinkDelegate delgeate
- Pass the initialized class to the AppsflyerDestination
let factoryWithDelegate: SEGAppsFlyerIntegrationFactory = SEGAppsFlyerIntegrationFactory.create(withLaunch: self, andDeepLinkDelegate: self)- Implement methods of the protocol in the class, passed as a delegate. See sample code below where AppDelegate is used for that:
struct NewAnalyticsAppsflyerIntegrationApp: App {
  static var afDelegate: AFDelgate! // Add strong reference to delegate

  init() {
...
      NewAnalyticsAppsflyerIntegrationApp.afDelegate = AFDelgate()

      NewAnalyticsAppsflyerIntegrationApp.analytics = Analytics(configuration: Configuration(writeKey: "<WRITE_KEY>")
                          .flushAt(3)
                          .trackApplicationLifecycleEvents(true)
                          )

      AppsFlyerLib.shared().isDebug = true

      // Use the stored delegate
      NewAnalyticsAppsflyerIntegrationApp.appsflyerDest = AppsFlyerDestination(
          segDelegate: nil,
          segDLDelegate: NewAnalyticsAppsflyerIntegrationApp.afDelegate
      )
      NewAnalyticsAppsflyerIntegrationApp.analytics?.add(plugin: NewAnalyticsAppsflyerIntegrationApp.appsflyerDest)
  }
...
...
class AFDelgate: NSObject, DeepLinkDelegate{
  func didResolveDeepLink(_ result: DeepLinkResult) {
      print("Deep Link: \(result)")
  }
}
important: As of Appsflyer SDK 6.17.0 there are additions in the Appsflyer SDK API on how to use DMA, see here.
The SDK offers two alternative methods for gathering consent data:
- Through a Consent Management Platform (CMP): If the app uses a CMP that complies with the Transparency and Consent Framework (TCF) v2.2 protocol, the SDK can automatically retrieve the consent details.
OR - Through a dedicated SDK API: Developers can pass Google's required consent data directly to the SDK using a specific API designed for this purpose.
A CMP compatible with TCF v2.2 collects DMA consent data and stores it in NSUserDefaults. To enable the SDK to access this data and include it with every event, follow these steps:
- Call
AppsFlyerLib.shared().enableTCFDataCollection(true)to instruct the SDK to collect the TCF data from the device. - Initialize
AppsFlyerDestinationusing manualMode = true. This will allow us to delay the Conversion call in order to provide the SDK with the user consent. - In the
applicationDidBecomeActivelifecycle method, use the CMP to decide if you need the consent dialog in the current session to acquire the consent data. If you need the consent dialog move to step 4; otherwise move to step 5. - Get confirmation from the CMP that the user has made their consent decision and the data is available in
NSUserDefaults. - Call
startAppsflyerSDK().
static var analytics: Analytics? = nil
static var appsflyerDest: AppsFlyerDestination!
func application(_ application: UIApplication, didFinishLaunchingWithOptions launchOptions: [UIApplication.LaunchOptionsKey: Any]?) -> Bool {

    // For AppsFLyer debug logs uncomment the line below
    AppsFlyerLib.shared().isDebug = true
    AppsFlyerLib.shared().waitForATTUserAuthorization(timeoutInterval: 60)
    AppsFlyerLib.shared().enableTCFDataCollection(true)
    NewAnalyticsAppsflyerIntegrationApp.analytics = Analytics(configuration: Configuration(writeKey: "<WRITE_KEY>")
                            .flushAt(3)
                            .trackApplicationLifecycleEvents(true)
                            )
    NewAnalyticsAppsflyerIntegrationApp.appsflyerDest = AppsFlyerDestination(segDelegate: sfdelegate, segDLDelegate: sfdelegate, manualMode: true)
    NewAnalyticsAppsflyerIntegrationApp.analytics?.add(plugin: NewAnalyticsAppsflyerIntegrationApp.appsflyerDest)
    return true
}

func applicationDidBecomeActive(_ application: UIApplication) {
    if(cmpManager!.hasConsent()){
        //CMP manager already has consent ready - you can start
        NewAnalyticsAppsflyerIntegrationApp.appsflyerDest.startAppsflyerSDK()
    }else{
        //CMP doesn't have consent data ready yet
        //Waiting for CMP completion and data ready and then start
        cmpManager?.withOnCmpButtonClickedCallback({ CmpButtonEvent in
           NewAnalyticsAppsflyerIntegrationApp.appsflyerDest.startAppsflyerSDK()
        })
    }

    if #available(iOS 14, *) {
        ATTrackingManager.requestTrackingAuthorization { (status) in
            switch status {
            case .denied:
                print("AuthorizationSatus is denied")
            case .notDetermined:
                print("AuthorizationSatus is notDetermined")
            case .restricted:
                print("AuthorizationSatus is restricted")
            case .authorized:
                print("AuthorizationSatus is authorized")
            @unknown default:
                fatalError("Invalid authorization status")
            }
        }
    }
}If your app does not use a CMP compatible with TCF v2.2, use the SDK API detailed below to provide the consent data directly to the SDK.
- Initialize
AppsFlyerDestinationusing manual mode. This will allow us to delay the Conversion call in order to provide the SDK with the user consent. - In the
applicationDidBecomeActivelifecycle method determine whether the GDPR applies or not to the user.
- If GDPR applies to the user, perform the following:- Given that GDPR is applicable to the user, determine whether the consent data is already stored for this session.
- If there is no consent data stored, show the consent dialog to capture the user consent decision.
- If there is consent data stored continue to the next step.
- To transfer the consent data to the SDK create an AppsFlyerConsent object with the following parameters:
-forGDPRUserWithHasConsentForDataUsage- Indicates whether the user has consented to use their data for advertising purposes. -hasConsentForAdsPersonalization- Indicates whether the user has consented to use their data for personalized advertising. - Call
AppsFlyerLib.shared().setConsentData(AppsFlyerConsent(forGDPRUserWithHasConsentForDataUsage: Bool, hasConsentForAdsPersonalization: Bool)). - Call
NewAnalyticsAppsflyerIntegrationApp.appsflyerDest.startAppsflyerSDK().
- If GDPR doesn’t apply to the user perform the following:- Call
AppsFlyerLib.shared().setConsentData(AppsFlyerConsent(nonGDPRUser: ())). - It is optional to initialize
AppsFlyerDestinationusing manual mode not mandatory as before.
- Given that GDPR is applicable to the user, determine whether the consent data is already stored for this session.
First of all, you must provide values for AppsFlyer Dev Key, Apple App ID (iTunes) and client secret in Segment's dashboard for AppsFlyer integration
Please use Github issues, Pull Requests, or feel free to reach out to our support team.
Interested in integrating your service with us? Check out our Partners page for more details.
MIT License

Copyright (c) 2021 Segment

Permission is hereby granted, free of charge, to any person obtaining a copy
of this software and associated documentation files (the "Software"), to deal
in the Software without restriction, including without limitation the rights
to use, copy, modify, merge, publish, distribute, sublicense, and/or sell
copies of the Software, and to permit persons to whom the Software is
furnished to do so, subject to the following conditions:

The above copyright notice and this permission notice shall be included in all
copies or substantial portions of the Software.

THE SOFTWARE IS PROVIDED "AS IS", WITHOUT WARRANTY OF ANY KIND, EXPRESS OR
IMPLIED, INCLUDING BUT NOT LIMITED TO THE WARRANTIES OF MERCHANTABILITY,
FITNESS FOR A PARTICULAR PURPOSE AND NONINFRINGEMENT. IN NO EVENT SHALL THE
AUTHORS OR COPYRIGHT HOLDERS BE LIABLE FOR ANY CLAIM, DAMAGES OR OTHER
LIABILITY, WHETHER IN AN ACTION OF CONTRACT, TORT OR OTHERWISE, ARISING FROM,
OUT OF OR IN CONNECTION WITH THE SOFTWARE OR THE USE OR OTHER DEALINGS IN THE
SOFTWARE.